Here I would like to quickly describe how to easily create
simple SSAS database. If you don’t have Data tools in your studio you can download it here https://bit.ly/32etQGG.
Here are described steps in short:
- Create relation database
-
Create Analysis Services project
-
Create connection to Data Source
-
Create Data Source view and put Data Source objects in there
-
Create dimensions
-
Create cube, measures and dimensions usage
-
Process and deploy created SSAS database
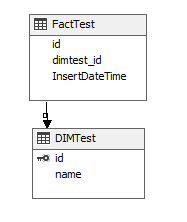
Let’s create database structure first. I created one test dimension and one test table for simplicity.
CREATE DATABASE [Test]
CONTAINMENT = NONE ON PRIMARY
( NAME = N'Test', FILENAME = N'C:\Program Files\Microsoft SQL Server\MSSQL12.MSSQLSERVER\MSSQL\DATA\Test.mdf' , SIZE = 512000KB , MAXSIZE = UNLIMITED, FILEGROWTH = 1024KB )
LOG ON ( NAME = N'Test_log', FILENAME = N'C:\Program Files\Microsoft SQL Server\MSSQL12.MSSQLSERVER\MSSQL\DATA\Test_log.ldf' , SIZE = 512000KB , MAXSIZE = 2048GB , FILEGROWTH = 10%)
GO
USE [Test]
GO
SET ANSI_NULLS ON
GO
SET QUOTED_IDENTIFIER ON
GO

CREATE TABLE [dbo].[FactTest](
    [id] [int] IDENTITY(1,1) NOT NULL,
    [dimtest_id] [int] NULL,
    [InsertDateTime] [datetime] NULL
)
ON [PRIMARY]
GO

ALTER TABLE [dbo].[FactTest] WITH CHECK ADD CONSTRAINT [FK__DIMTest_id] FOREIGN KEY([dimtest_id]) REFERENCES [dbo].[DIMTest] ([id])
GO

ALTER TABLE [dbo].[FactTest] CHECK CONSTRAINT [FK__DIMTest_id]
GO
SET ANSI_NULLS ON
GO

SET QUOTED_IDENTIFIER ON
GO

CREATE TABLE [dbo].[DIMTest](
    [id] [int] IDENTITY(1,1) NOT NULL,
    [name] [sysname] NOT NULL,
CONSTRAINT [PK__DIMTest_id] PRIMARY KEY CLUSTERED
(   [id] ASC )WITH (PAD_INDEX = OFF, STATISTICS_NORECOMPUTE = OFF, IGNORE_DUP_KEY = OFF, ALLOW_ROW_LOCKS ON, ALLOW_PAGE_LOCKS = ON)
ON [PRIMARY]
)
ON [PRIMARY]

GO
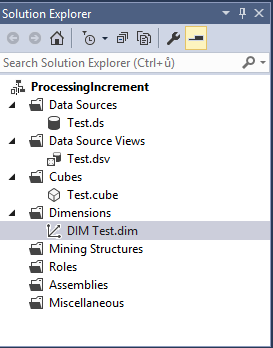
Now open Microsoft Visual Studio and create New Analysis Services Project.On picture bellow you see Solution Explorer with final solution. I tried to figure out individual steps you should do to create your SSAS database in defined order.
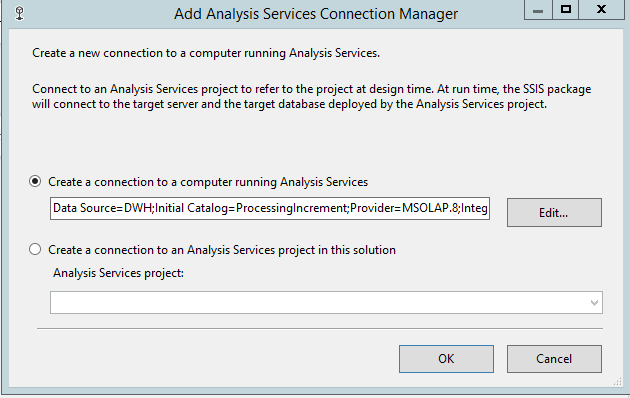
First create connection to your Data Source which is SQL Server database in our case. By right clicking mouse on Data Sources section, add New Data Source from context menu.
As next step we have to create Data Source view to get objects we would like to work with. By right clicking mouse on Data Source Views section, add New Data Source View from context menu. Right click on Data Source View surface and select Add/Remove tables from the context menu. Here we select tables we created at the begging. As you can see from menu you can create queries too. Visual studio tries to create relationships between objects you put into Data Source View. It comes from your referential integrity set on your object’s. In case you are missing constraints on your tables or Studio didn’t create from some reasons this relationship you can create or modify it manually (by dragging mouse between objects, or by context menu form Data Source View surface).
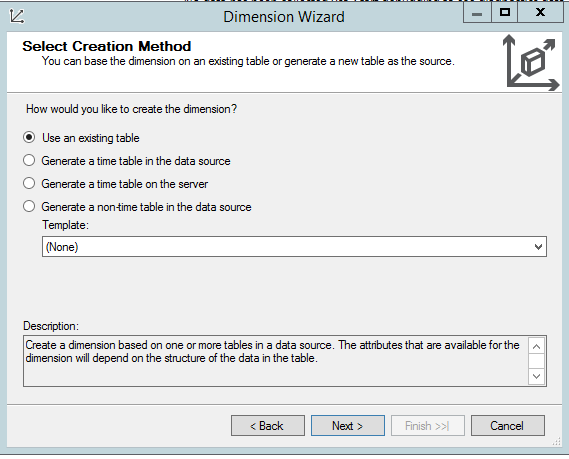
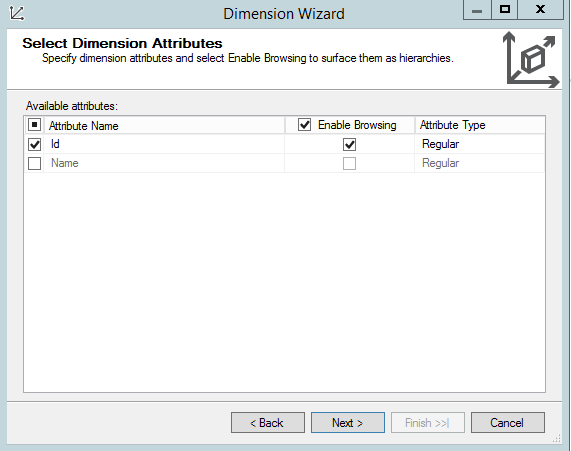
In next step create dimension DIMTest, and then create dimension usage – create relationship between cube and dimension. By right click on dimension and New dimension from context menu. Dimension Wizard appears. It will navigate you through process of dimension creation. You can choose you would like to create dimension from existing table you have in Data Source View or you generate the dimension. In next steps you are advised to select attributes will be present in the Dimension. Let’s click next on following Dialog windows .
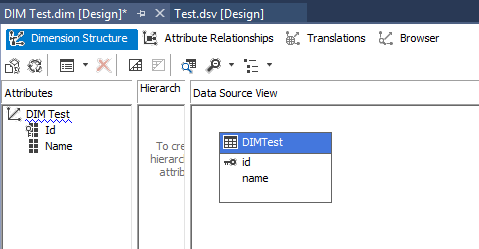
When you are finished, you should see something similar on picture bellow. I will not show other sections like Attribute Relationships etc. Let’s go with simple dimension structure and its attributes.
If we would have another dimension, we would add them in similar way. Because I have only one dimension in my example, I can move to the next step, creating cube – define Measures and Dimension usage. Right click on Cubes section and select New cube.
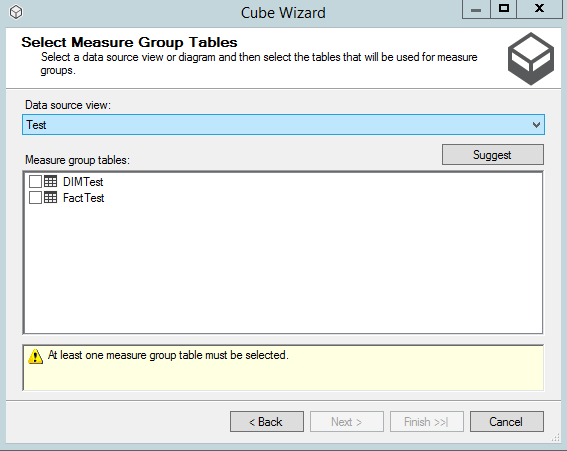
As in creating dimension scenario we get Cube Wizard helping user to create cube with its attributes. Set Use existing tables option in the next window. Select table, will be used for measure attributes. FactTest table in our scenario.
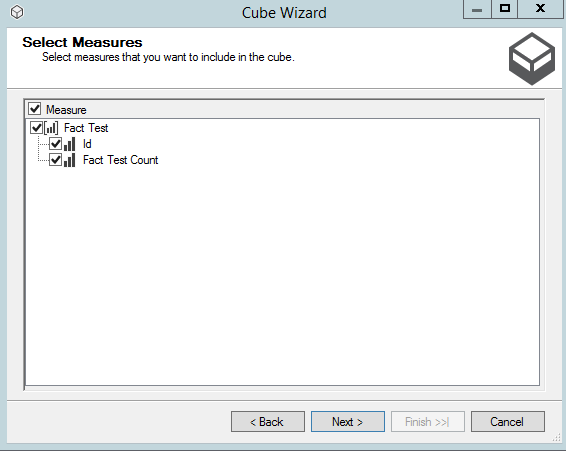
Set Measures we can get from our SSAS cube.
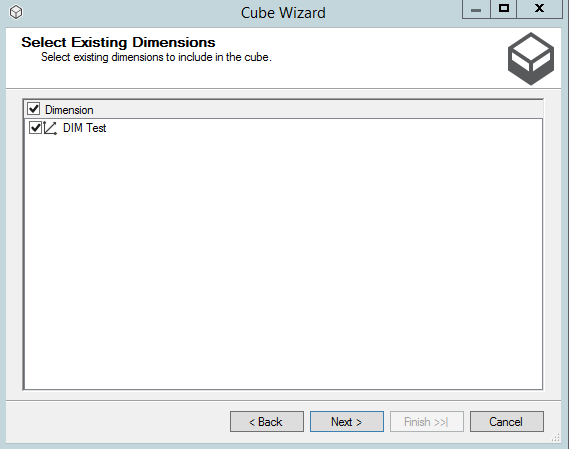
Select Existing Dimensions we created in one of previous steps.
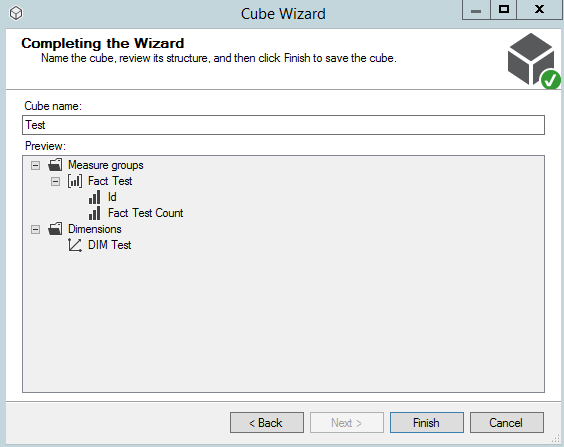
Finally put a name for our new cube.
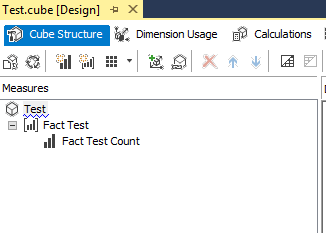
Now you should see cube designer window. On the left side Cube structure section there are cube Measures we set.
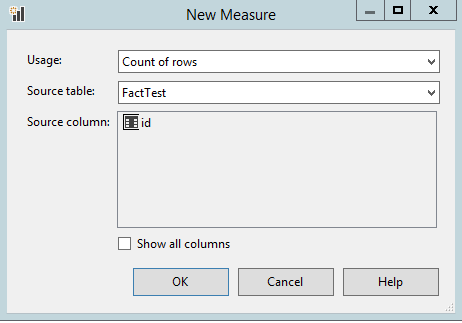
By right click on measure we can get its properties to check operator used for aggregation function of measured data.
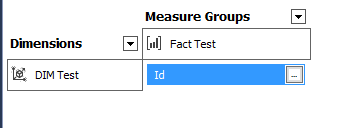
In the next section – Dimension usage we set dimension used to work with our cube and its relationships. Our scenario is very simple we add our DIM Test dimension and set Regular relationship with Fact table which is typical for star schema of multidimensional model of SSAS cube.
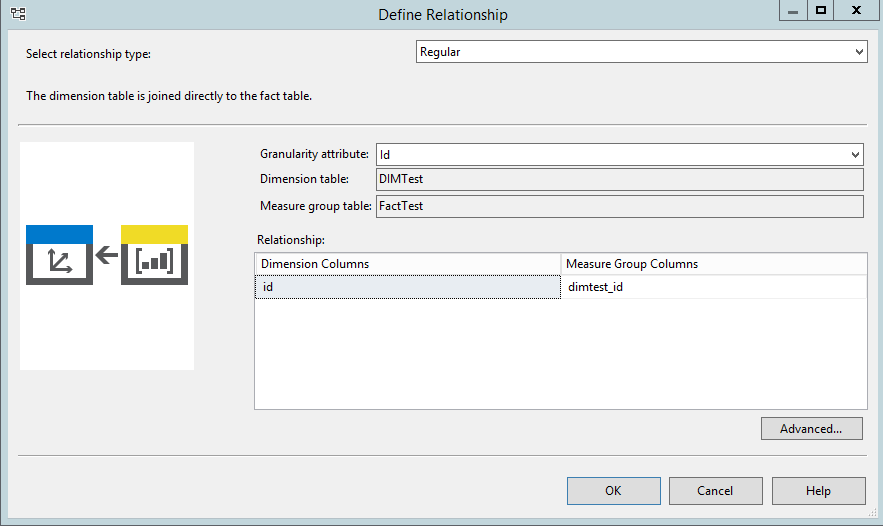
Finally, we should see settings on picture bellow.
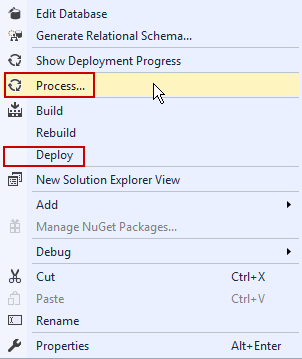
Processing or Deployment settings on picture bellow, by right mouse click in Database section in Solution explorer. Deployment settings are situated in Visual Studio, top menu, Project -> Properties -> Deployment section. Here you set the Destination server and name of SSAS database you deploy.
I have to notice that it was the easiest and fastest way to create simple SSAS database from scratch. I skipped lots of settings and possibilities which analysis services offers. As you can see on picture bellow there are options to set Calculations, Aggregations, Partitions etc.

You can download solution here: ProcessingIncrement.
I would like to describe all settings and features of Analysis Services from more perspectives and used with more scenarios, step by step, in next posts. So, stay tunned!.
I was suggested this blog by my cousin. I’m not sure whether this
post is written by him as no one else know such detailed about my trouble.
You are incredible! Thanks!
Feel free to visit my blog; CBD for Sale
Informative article, just what I needed.|